
How to Draw A Sea Turtle. Sea turtles, also known as sea turtles, are giant, air-breathing reptiles living in tropical and subtropical seas worldwide.
Also, check our sunflower coloring pages for kids.
Because of their unique and distinctive physical characteristics, sea turtles are an entertaining subject to draw.
As a result, how to draw a sea turtle has become a highly requested tutorial. You asked for it, so we delivered.
Finally, we’ve curated a step-by-step tutorial on how to draw a sea turtle, summed up in 9 simple and easy steps.
You can use these steps to draw a realistic-looking sea turtle or an animated one.
Each step is accompanied by easy-to-understand illustrations that act as a visual guide as you follow the instructions.
Whether you are a beginner or an expert at drawing, we are sure that you can follow these steps effortlessly. Plus, you can add your style and improvise at any stage.
Mix and match colors to personalize and make your artwork unique. Let your imagination run wild and unleash your creativity. So pick your favorite drawing tool and start drawing!
How to Draw A Sea Turtle
Step 1
Outline the sea turtle’s shell in the center of the paper. To ensure the outline is correctly centered, draw a horizontal and a vertical line on the paper to create reference lines. Where the two lines meet is where you should outline.
Step 2
Inside the shell outline we drew in the previous step, draw another outline that follows the shape of the shell.
The precentral, postcentral, and marginal shields are in the space between the outlines.
Step 3
Structure the vortex shields on the shell by drawing connected irregular and irregular circular shapes in the center of the shell.
Don’t worry about making the shields perfect and flawless. The more irregular they are, the more realistic they appear.
Step 4
Draw irregular geometric shapes similar to the previous step on the left side of the shell. The shields should all be connected, as shown in the picture.
Step 5
Repeat the previous step on the right side of the shell to finalize the sea turtle shields.
Step 6
Create the sea turtle’s head by drawing a narrow curved line that extends under the shell. If drawn correctly, it should look like the sea turtle is peeking out from under its shell.
Step 7
Construct the fins by drawing a long, curved line with a jagged horizontal line down each side of the shell.
This outlines the sea turtle’s flippers, which help it easily prowl the ocean for long periods.
Step 8
After we drew the fins in the previous step, it was time to draw the hind legs to complete the sea turtle’s limbs.
Draw two straight lines connected by a jagged diagonal line to form the sea turtle’s hind legs. Repeat the same process on the other side of the shell to create a pair of back legs.
Step 9
Draw circular shapes of different sizes on the sea turtle’s skin. This outlines the unique patches on the surface of her skin.
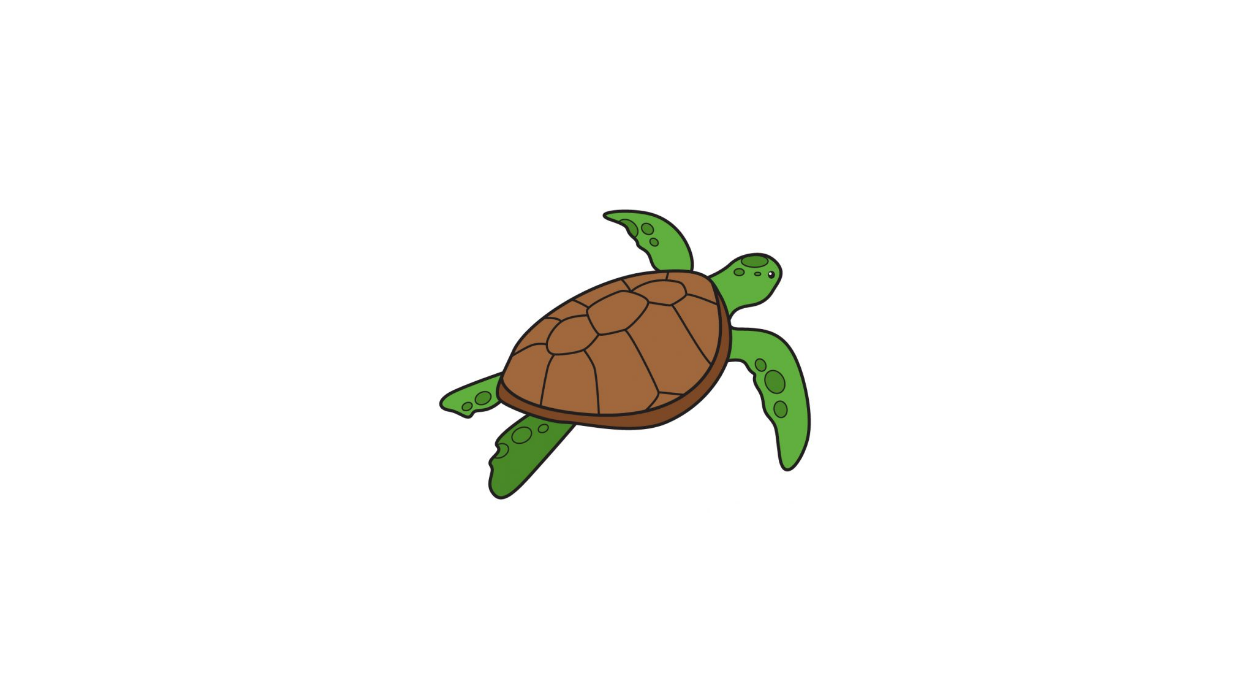
Here you can see that the sea turtle is almost done! The only thing missing is a splash of more colors to complete your artwork!
Finally, the most exciting part comes: fill in the colors for your fantastic drawing! This is where you can show off your artistic skills and ability to mix and match different colors.
The color of a sea turtle varies by species. However, the most common colors of sea turtles are yellow, olive green, greenish-brown, russet, and black.
Some species even have distinctive patterns all over their skin, allowing them to be more than one color. This gives you tons of color options to choose from when coloring your sea turtle!
Feel free to color your sea turtle drawing any way you like to use the colors of your choice, and watch your drawing eventually come to life!
Your Sea Turtle Drawing is Finished!