
Are you looking for an easier way to add photos from your camera roll to your Instagram Stories?
Adding photos from your camera roll to your Instagram Story can be a tedious and time-consuming process. You have to take the photo, save it to your camera roll, and then manually upload it each time you want to use it.
Fortunately, there is a way to make this process much simpler and faster.
In this guide, we’ll show you how to instantly add photos from your camera roll to your Instagram Story. We’ll cover the best strategies for adding photos quickly and easily so that you can focus more of your time on creating content that will engage your audience.
So let’s get right into it! Click Here
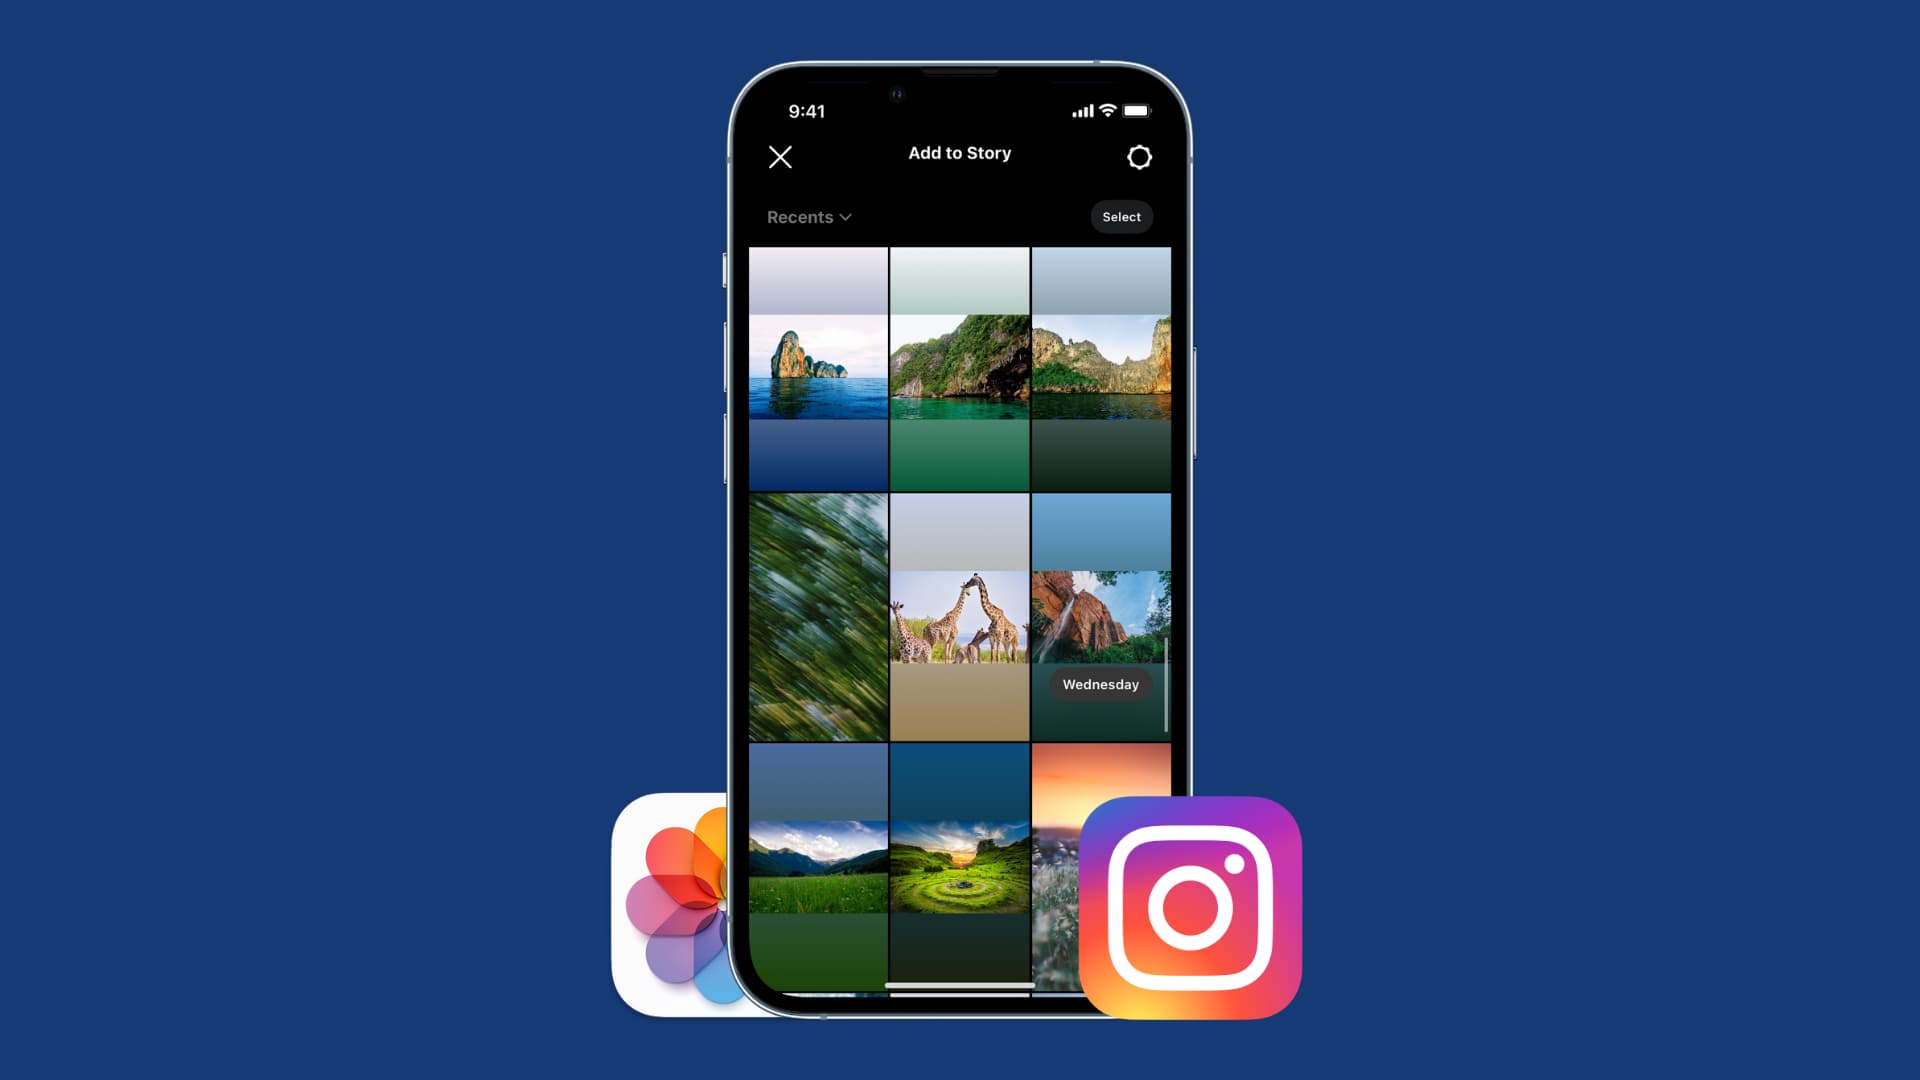
How to Upload Camera Roll Photos to Instagram Story?
Adding photos from your Camera Roll to your Instagram Story is a great way to customize your story and add content you couldn’t capture through the camera.
Here’s how to quickly and easily add any image from your Camera Roll directly to your Instagram Story:
- Open the Instagram application and select the “Camera” option at the top left of your screen.
- Look for the small thumbnail in the bottom-left corner of the display. It will either be a photo of your camera roll, or an icon that looks like a square with an up arrow in it.
- Select that icon, and you’ll be taken to your Camera Roll. From there, you can select any image or video in your library and it will automatically be added to your story.
- Once added, you’ll have access to all of Instagram’s creative tools so you can get creative with texts, stickers, GIFs, and more!
Using Instagram Filters on Camera Roll Photos
Getting creative with your Instagram Story is easy when you learn how to add Camera Roll photos. Whether it’s a vacation snap, an old photo with friends, or a picture you want to spruce up before you post it, adding Camera Roll photos to your Instagram Story is simple.
Here’s how:
- Open the Instagram Story camera by swiping left on the home screen.
- Choose the Camera Roll icon on the bottom left corner of your story camera.
- Select the photo you’d like to add and tap Done in the top right corner.
- To edit the photo, tap Edit and use the available filters, stickers, text, and more.
- Once you’re satisfied with your edits, hit done again in the top right corner and share it with your Story!
Using filters on Camera Roll photos is a great way to quickly create Stories that look professional and polished. Plus, you can use a variety of formats such as Boomerangs and layout grids to make your content stand out even more!
How to Save Instagram Stories With Camera Roll Photos?
Did you know that you can add photos from your Camera Roll to your Instagram Story? It’s a great way to easily spruce up your story with content that wasn’t taken with the app.
Steps to Saving Instagram Stories With Camera Roll Photos
Adding photos from your Camera Roll is simple:
- Tap the camera icon in the top left of your screen, or swipe right from anywhere in Feed
- At the bottom of the screen, tap “Gallery”
- Select the photo you’d like to add from your Camera Roll
- Tap “Your Story” at the bottom of the screen to publish it as part of your story or add it to one of your highlights!
- If you want to use a photo that was taken within 24 hours, swipe up from Feed and select it there
- Finally, tap “Send To” and select “Your Story” or “Highlight”.
You can also select several photos at once and upload them quickly by tapping and holding on to any photo while selecting others. The selected photos will have a blue border around them, signifying that they’re ready for upload!
Making the Most of Your Camera Roll Photo Editing Options
You can set yourself apart from the competition by leveraging editing tools to upgrade the photos you add from your Camera Roll to your Instagram Story. By making the most of Instagram’s simple yet powerful editing options, you can create stories that pack a bigger impact.
Here are just a few editing options you can take advantage of:
Cropping & Rotating
Keep your photos in-frame by cropping and rotating them. This allows you to focus on the most important parts of the image and remove any unwanted elements.
Color Correction & Filters
Adjust brightness, contrast, and saturation levels with color correction tools for a cleaner look, or make use of Instagram’s built-in filters for an instant boost of visual appeal.
Text & Stickers
Give your Camera Roll photos some context by adding text and stickers. You can even use animated text and sticker effects to animate static images and instantly transform them into engaging stories!
Easily Sharing Your Camera Roll Photos on the ‘Gram
Adding photos from your camera roll to your Instagram Story is easier than ever! With a few taps, you can share photos and videos with your friends and followers that you have taken over the past couple of days.
Here’s how it works:
- Open the Instagram app and tap on the Stories section.
- Tap the Camera Roll icon located at the bottom of the screen.
- Select a photo or video from your camera roll that you want to add to your story.
- Add any stickers, text, or drawings that you want to customize as desired.
- When you’re done adding content, tap on “Share” in the top right corner, and voila! Your camera roll photo is now live on your story for friends and followers to see.
You can also go back and add more photos from your camera roll at any time by repeating these steps – so go ahead, get creative, and start sharing those amazing photos!